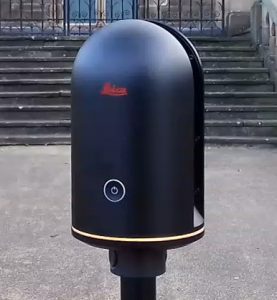
The BLK360 can function quite happily without the use of an iPad. Providing you set the scanner to the desired scan point density before you start and whether you want it to record HDR (high dynamic range) 360 photos or ‘normal’ jpegs and how much exposure compensation you require – the iPad can then be left at home or you can complete a job on site if the iPad runs out of power.
To set the ‘Push-Button’ scan settings connect to the scanner in the normal way with the iPad and select the settings cog, then ‘Push-Button Scan’ as below.

For the 3rd day of working on the Dalhousie scan I decided to see how the Push-Button might help or hinder things.
The scanner is positioned and then switched on. Once it has settled in and you have the green neon band around the base you can give the power button a firm single press and then retreat to your vantage point.
The longest part of a scan is the photographing, the camera shoots 27 images and stitches these to form a spherical image. It then resets it’s rotation position and does a semi-circular scan, only 180 degrees is required as the laser shoots out from and both sides of the scanner slot simultaneously. I had the scanner set to do low density scans for speed – I only had 3 hours of daylight available.
I tried to get to the same position to watch the device scan so that when it comes to cleaning up the scan it’s a case of removing a bunch of ‘me’ and not lots of me spread all over the place.

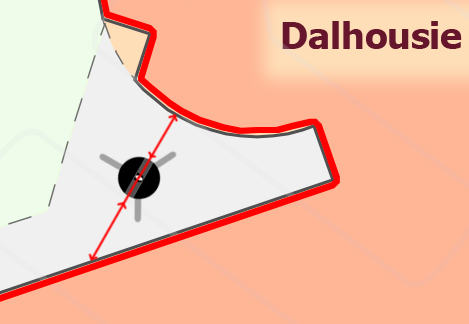
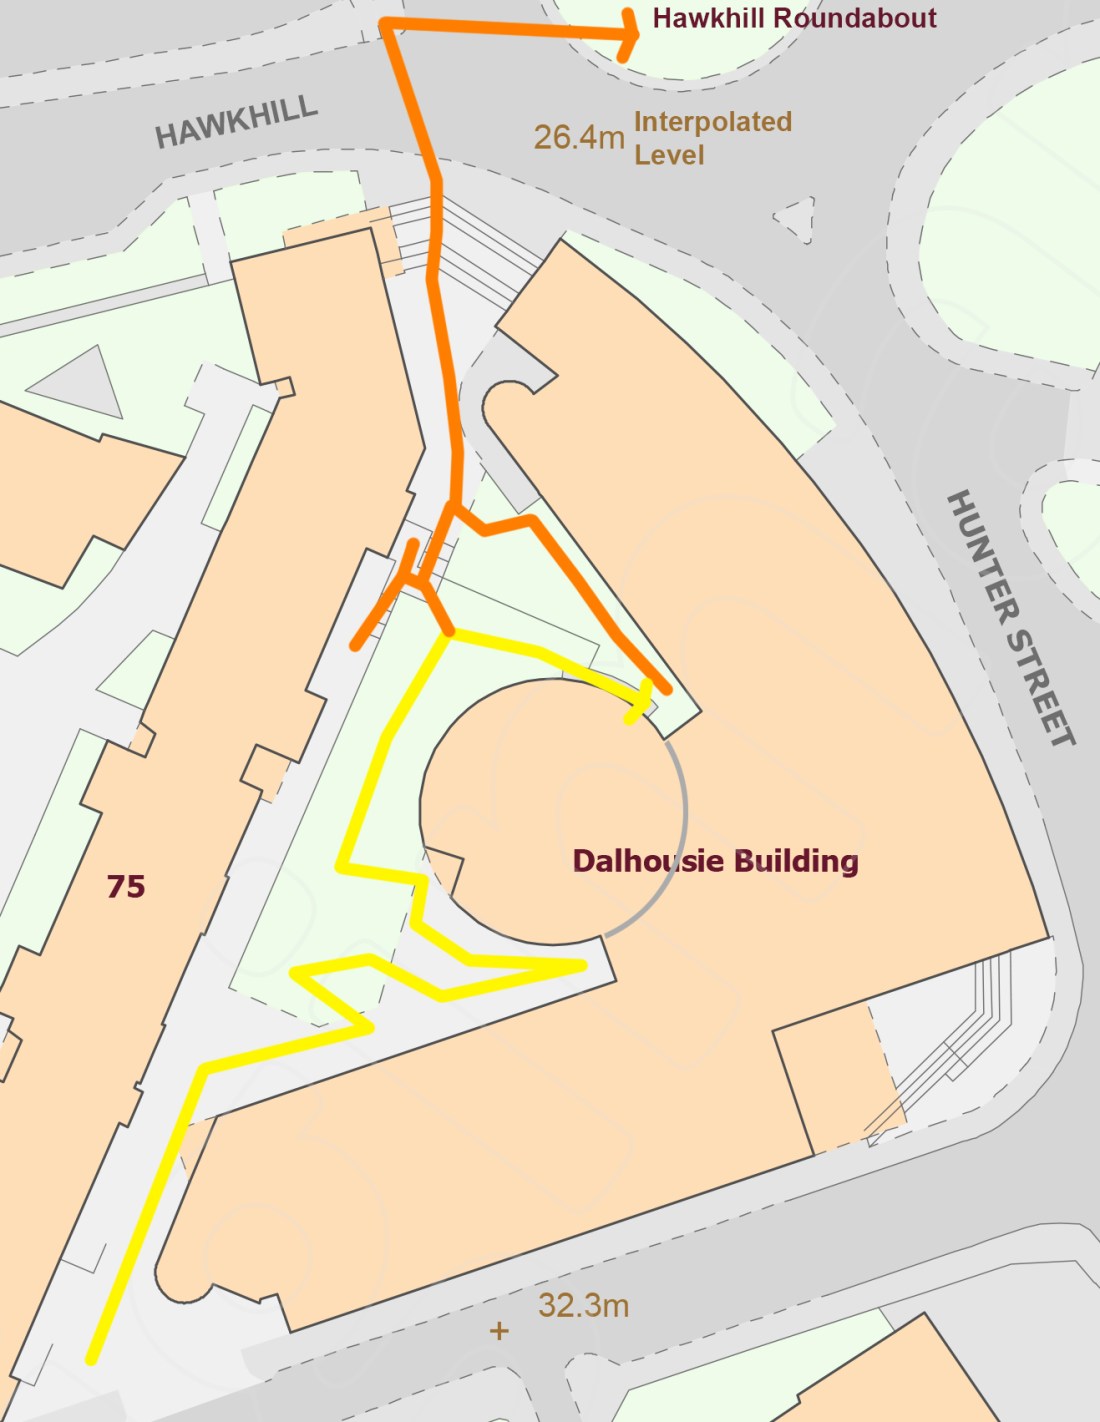
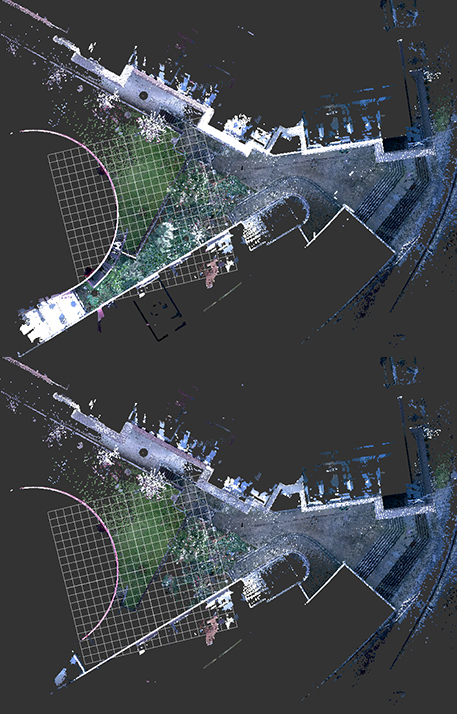
Here’s a reminder of the plan of the outdoor space and the route taken – I could see there would be a problem with registration getting from the yellow route to the orange this was due to the dead end nature of the landscaped space north of the red drum – there was no way down from high level to low level without retracing your steps.
On 3 occasions the scans were not completed properly – instead of the scanner returning to a green neon band after scanning it would show a sickly orange and sit like that until you went across and switched it off.
Later these scans were found to be corrupt files and if you were syncing the BLK360 through the iPad to the PC Recap Pro these would stop the syncing process dead so they had to be weeded out.
The push-button method created far more work afterwards I found. Syncing and registering MUST BE DONE WITH SCANNER ON FROM START TO FINISH OR THE PROCESS FAILS. Make sure you have a 100% powered battery in before you start the sync.
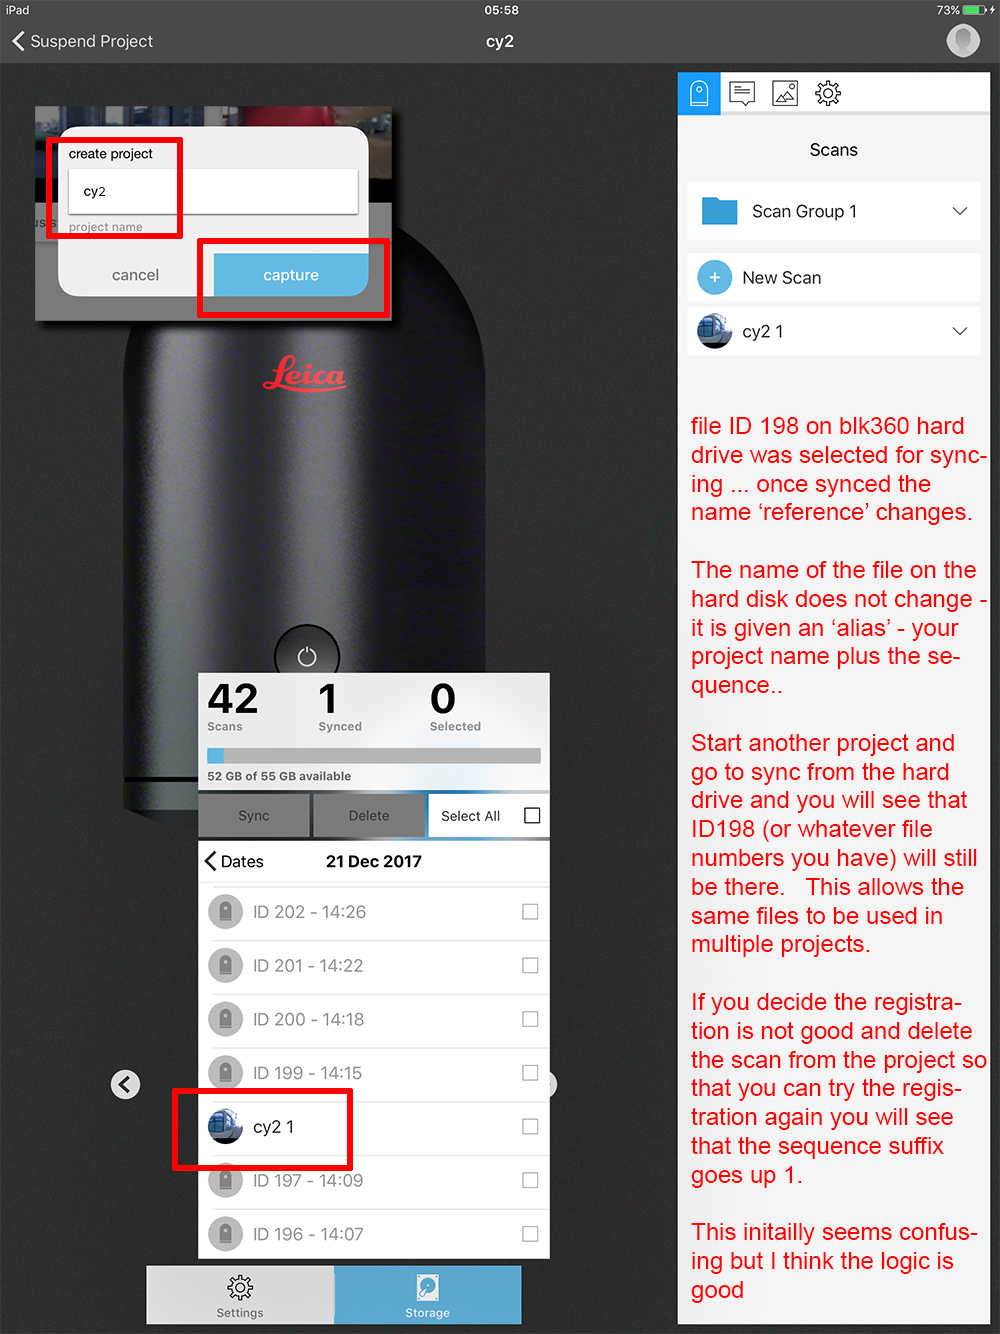
This image shows the iPad syncing files from the BLK360 hard drive. You must confirm results as you go – as you would on site. You can manually register if you don’t like the look of the auto results.
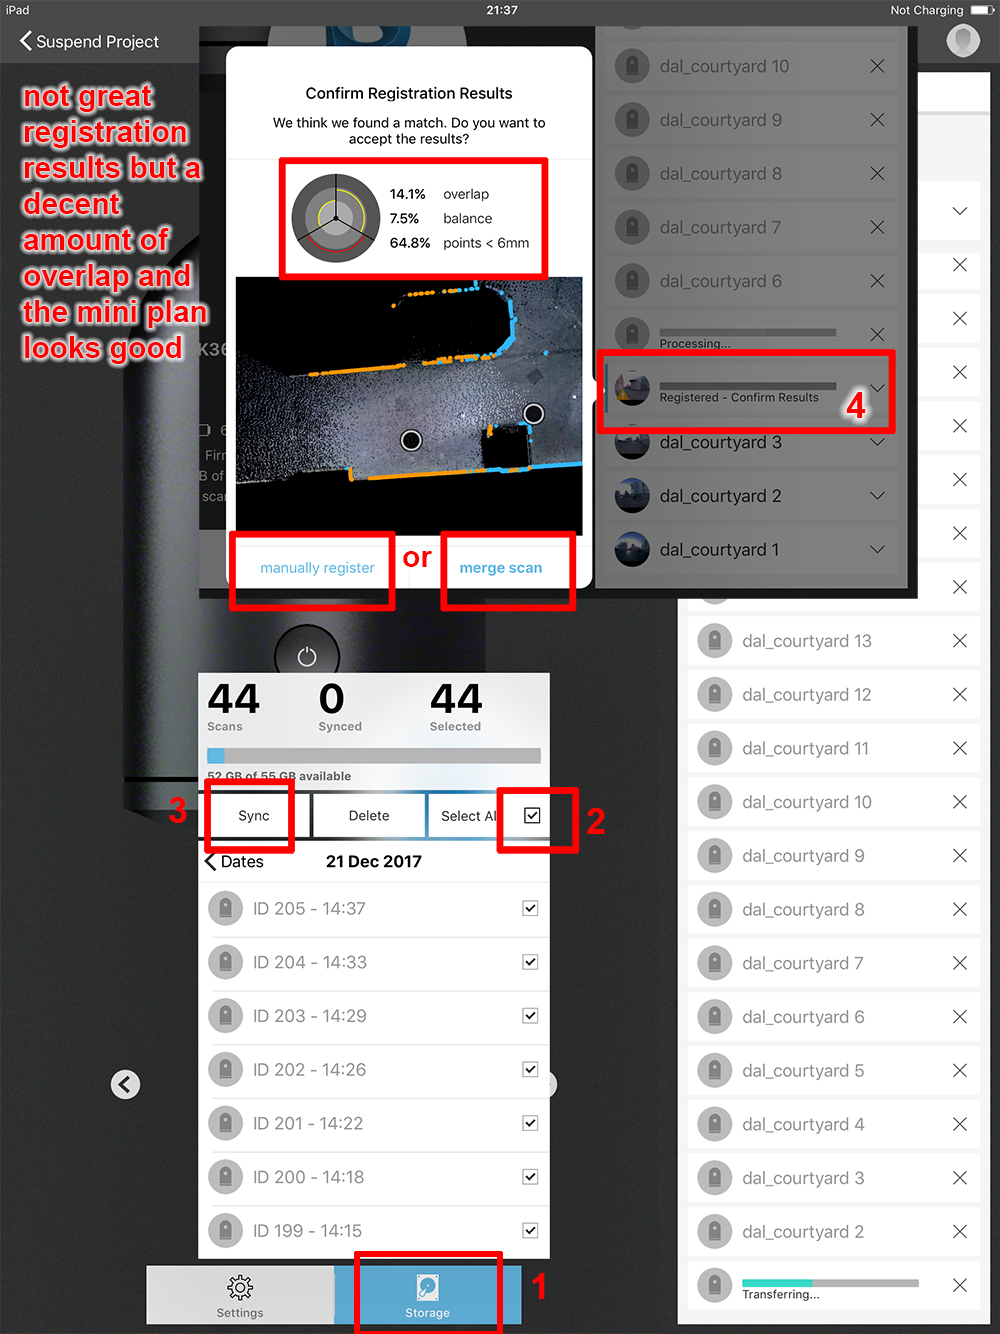
Notice the names of the files on the hard drive – like DSLR image names – it’s a once only name. When you have synced a file the name on the hard drive changes … or appears to. Actually it gives the file on the hard drive a temporary alias. I think this is so the scans can be used elsewhere in different projects if need be and not one person is deciding the naming convention.
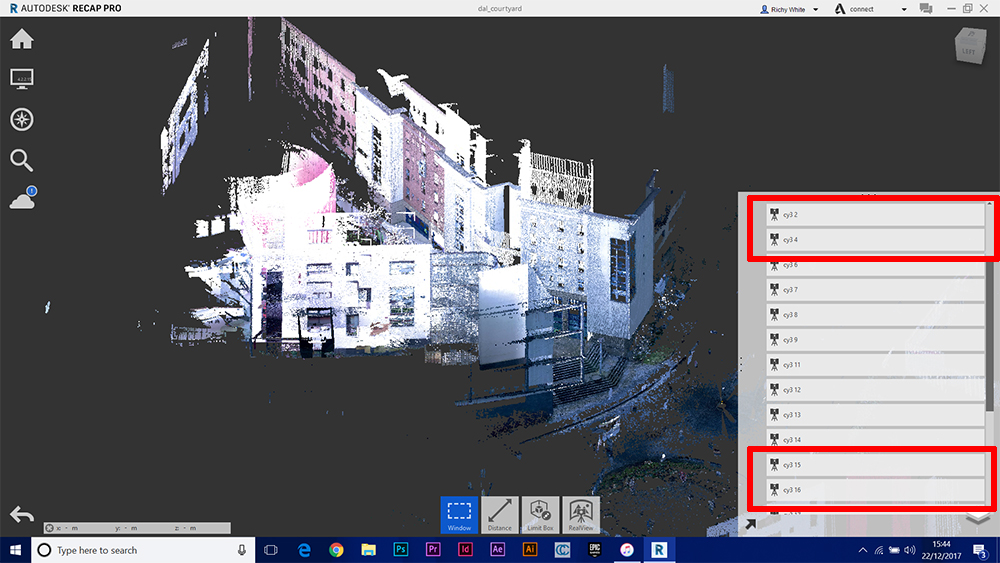
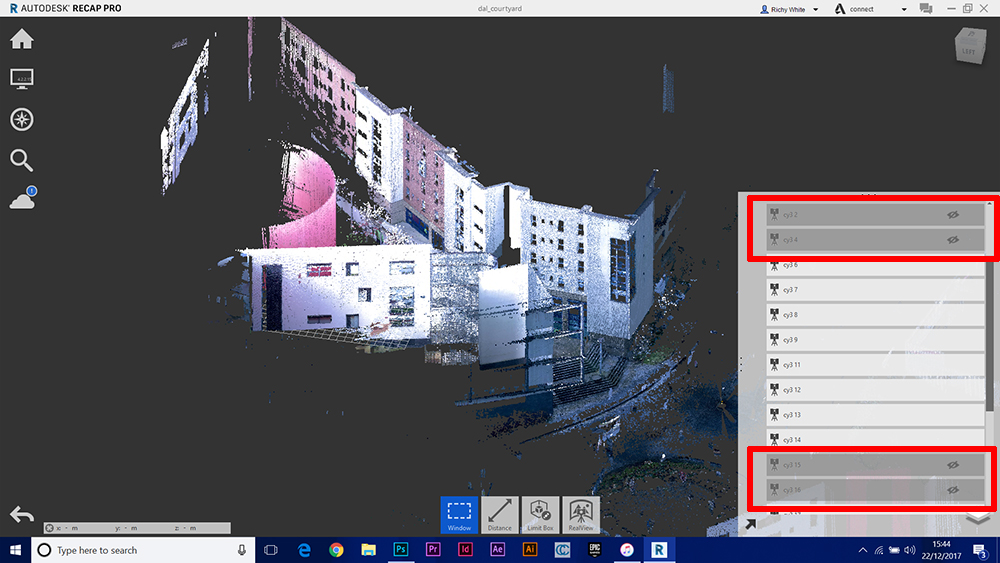
I found that due to some files not registering well at all I had to break the project in to two parts – North and South. The South files were synced off the BLK360 first and the project saved.
I then did the North files. This graphic tries to show my modus operandii:

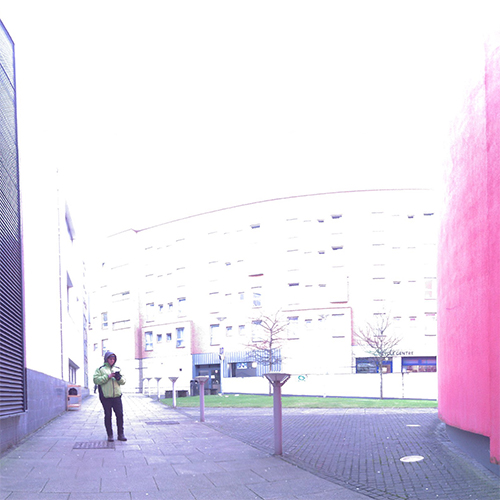
The yellow ‘South’ scans registered automatically for the most part – where there was over-exposure things went wrong though. In the more restricted points between buildings the on board camera seems to massively over-expose the 360 images – see here:

Since there is no iPad getting used you are unaware of this potentially ruinous action.
For the North portion each scan had to be manually registered, the four ‘red dots’ on the graphic were scans that steadfastly refused to register properly.
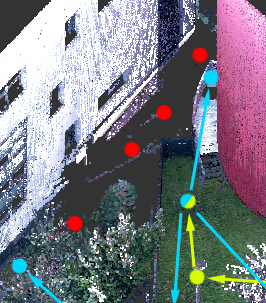
These were in a ‘ravine’, the photos were massively over-exposed and they continuously registered higher up than they should
Only when you finally viewed the point cloud on the PC could you see this – compare these images:
Hard to tell there is anything wrong with the top portion until you see it in 3D:
The 4 red dots are the 4 scans highlighted with the red boxes. All much higher than they should be – no matter what order I tried registering in they would not behave.
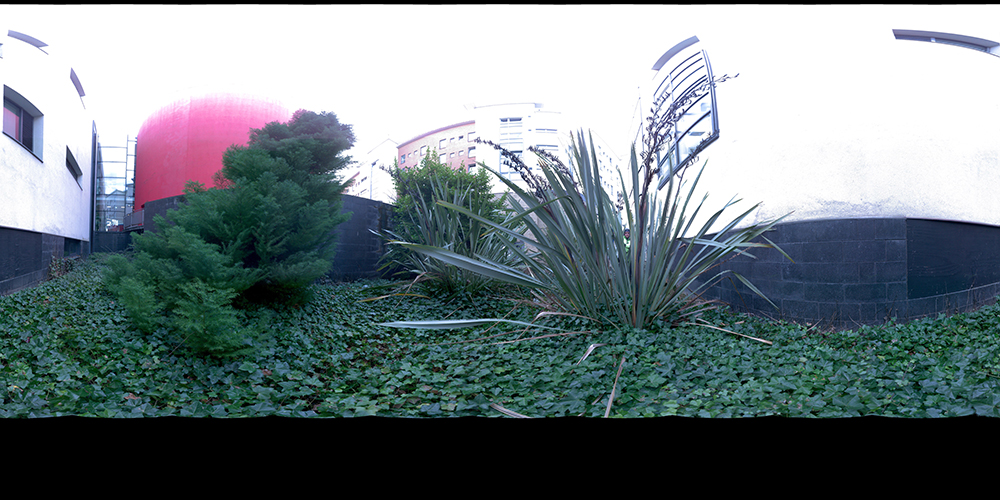
Taking them out made the point cloud understandable:
A return trip to the site under different sky/lighting conditions is needed. I will aslo try and set the exposure compensation as low as possible and see if that improves matters. It’s great that you can return to a site and pretty much pick up where you left off.
Final Composition
The Final task is putting all this together. Importing one project in to another is not as daunting as you might expect. Try and pick the scans that are most likely to register the best and in my experience Recap has done a great job of merging projects.
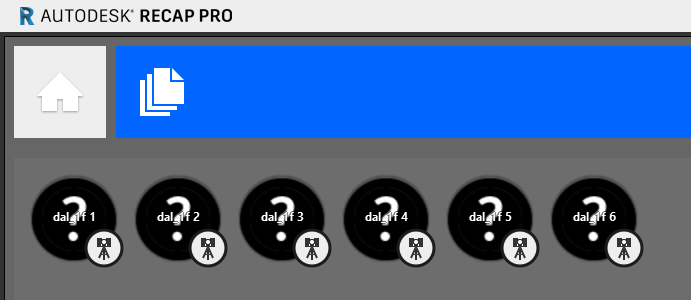
If files get separated then it’s fairly easy to put them back in the same main folder and they will be detected:

You need to make sure the registration and 360 image info is there and not just the .rcs files.
My laptop (which is a 5 year old Dell XPS i7 with 8gb RAM was not able to handle adding the courtyard scans – once I get to a more powerful PC I will put the whole thing together and do those ‘red dot’ ones!

I learned a great deal in the 4 days I spent working on this project – I hope some of my discoveries help you with your projects.
